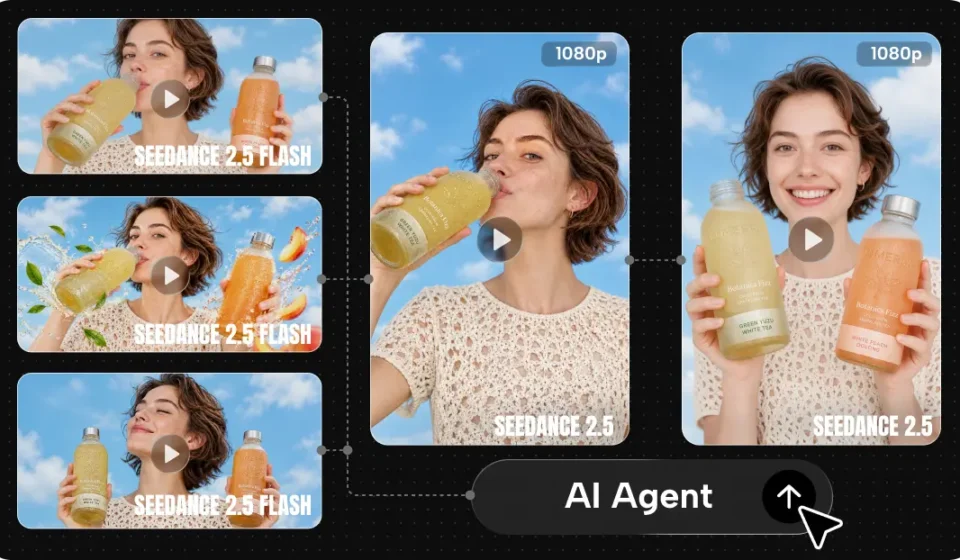

A cinematic image does not need an expensive camera, a dark color grade, or a dramatic tracking shot. What makes a scene feel considered is the relationship between what the viewer sees, what remains outside the frame, and how the image changes over time. Seedance 2.5 Flash lets creators explore those choices in moving clips, making it easier to compare visual ideas while a project is still taking shape.
The most useful question is not “How do I make this look like a film?” It is “What should this shot make the viewer notice or feel?” The techniques below show how to answer that question through framing, light, color, movement, and editing.
1. Let the Frame Tell Part of the Story
A wide shot and a close-up can show the same event while giving the viewer different information. Think about what the audience needs to understand before deciding how much of the scene to include.
Use Distance to Establish Relationships
Imagine a cyclist stopping on an empty coastal road. A wide frame can show the road curving toward the sea, making the rider appear small within the landscape. A close shot of a hand tightening its grip on the handlebars says less about the location, but more about a personal moment.
A prompt for the first idea could be: “Wide view of a cyclist stopped on a quiet coastal road, the road curving toward the sea, pale morning light, the rider small in the frame.” For the second: “Close view of a cyclist’s hand resting on the handlebars, a faint sea breeze moving the sleeve, soft morning light.”
Neither framing is automatically more cinematic. Choose the wide shot when the landscape matters; choose the detail when the action or emotion deserves attention. If a generated frame hides the important subject, ask for a closer view or a simpler background.
Place the Subject With Intention
A person positioned near the edge of a frame can create space in the direction they are looking or moving. A centered composition can feel direct and stable. Empty space can be useful too: an unoccupied chair beside a packed suitcase might suggest an impending departure without showing the person at all.
Try describing the arrangement in ordinary language: “Place the suitcase in the lower right of the frame, leaving the doorway visible on the left.” Review whether the output actually follows that arrangement; the description is a guide, not a guarantee.
2. Use Light to Reveal, Hide, and Direct Attention
Lighting becomes more useful when it has an identifiable source. Instead of requesting “beautiful cinematic lighting,” describe where the light comes from and what it touches.
For a ceramic bowl on a kitchen table, “soft daylight entering from a window on the left” suggests a gentle, open scene. “A single warm lamp lighting the bowl against a darker background” creates a more intimate atmosphere. Both can work, depending on the message.
A practical prompt might be: “Close view of a ceramic bowl on a wooden table. Soft side light from a window reveals the texture of the bowl; the background remains gently out of focus.” The window gives the light a source, while the instruction about texture gives it a purpose.
If the generated shot is too dark, say which detail needs to remain visible: “Keep the person’s face and the letter in their hand clearly lit.” If the scene looks flat, introduce a direction for the light rather than adding several unrelated adjectives.
3. Build Color Relationships Instead of Adding a Filter
Color can connect a sequence or draw attention to a single object. Start with the relationship between a few colors rather than asking for a generic “cinematic color grade.”
Consider a scene in which someone finds a red umbrella on a gray morning. A muted blue-gray street gives the umbrella a clear role as the visual accent. If every sign, coat, and storefront is equally bright, the intended focal point can get lost.
Describe that relationship directly: “A red umbrella stands out against a muted blue-gray street, soft overcast light, restrained background colors.” If the result is too saturated, simplify the palette and compare the next version with the original.
A limited palette can also help separate clips feel related. Record a few shared choices—such as cool exteriors and warm interiors—and carry them into the relevant prompts. Those choices guide the look; review the actual outputs because separate generations can still vary.
4. Give Movement a Reason
Movement can reveal information, follow an action, or bring attention to a detail. It is most effective when the viewer can understand why the viewpoint changes.
Imagine a person opening a letter at a table. A fixed camera can leave space for the viewer to observe the reaction. A slow move closer can emphasize the moment the person reads the first line. A quick movement around the room may draw attention away from the letter altogether.
For the closer version, try: “Medium view of a person opening a letter at a table. The camera slowly moves closer as the person begins to read; soft window light, quiet atmosphere.” For the alternative, keep the scene and replace the camera direction with “camera remains fixed.”
Compare the emotional effect rather than assuming that the moving camera wins. If the action becomes distorted, simplify the shot or keep the camera still. A smooth-looking move is only useful if it supports the moment.
5. Create Depth With Foreground, Subject, and Background
A frame can feel more dimensional when its elements occupy different visual layers. A window frame in the foreground, a person in the middle, and soft street lights in the background give the viewer several distances to read.
For example: “View through a partly open doorway toward a musician tuning a guitar in a small room. The doorway forms a soft foreground edge; the musician is clearly visible; warm lights sit in the background.” The foreground gives context without replacing the subject.
Check that the layers do not hide the action. If the doorway covers the musician’s hands, reposition it or ask for a clearer view. Background blur can direct attention, but excessive blur may erase context that the story needs.
6. Compare Creative Directions With Seedance 2.5 Flash
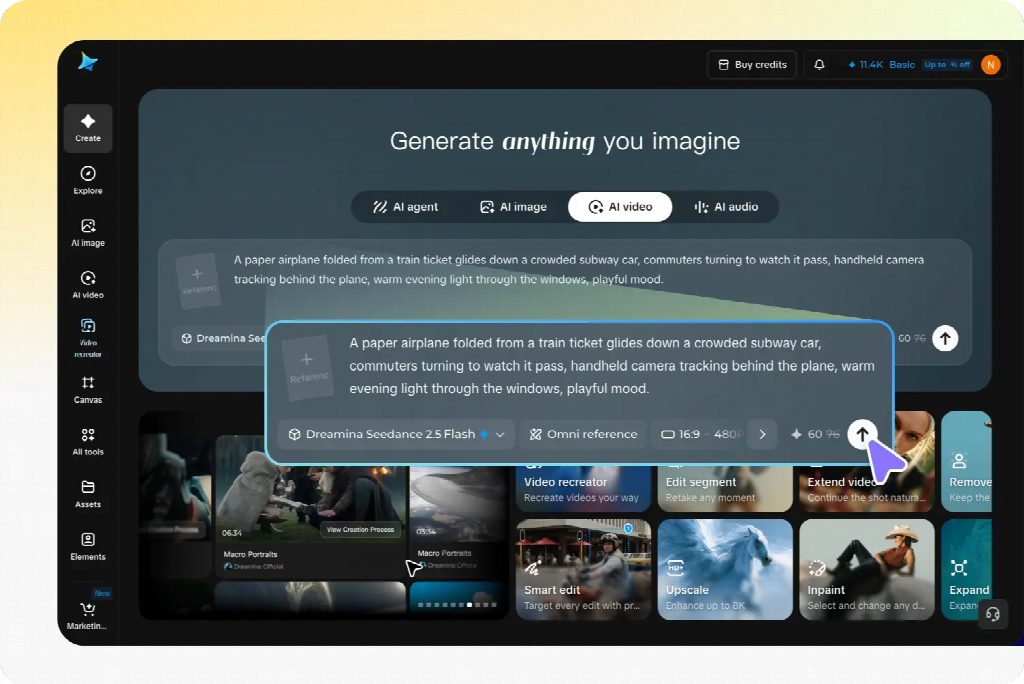
These visual choices are easier to judge when you can see them move. Seedance 2.5 Flash is designed to generate 480p and 720p clips for exploring ideas, making it useful for comparing framing, light, and camera direction before choosing a shot to develop.
Start With One Shot and a Clear Decision
Suppose you are creating a fictional video about a baker preparing a shop before opening. The question is whether the opening should feel expansive or intimate. Open Dreamina’s AI video generator, select Seedance 2.5 Flash, and create a first candidate:
“Wide view of a baker arranging bread on a counter before sunrise. Soft warm light glows inside the shop; the street outside is still dark. The camera remains fixed.”
Then generate a second direction: “Close view of a baker’s hands placing a loaf on a wooden counter. Warm light falls across the bread; the background remains soft. The camera remains fixed.”
These prompts are proposed examples, not descriptions of tested clips. They change framing and emphasis, so the comparison helps you choose an opening direction rather than isolate a single technical variable. The wide version may establish the place; the close version may emphasize texture and action.
Use the Result to Make the Next Choice
Watch both clips beside the script or message. Can you tell what the baker is doing? Does the light support the intended mood? Is the frame useful at the size where the video will appear? Select the version that communicates the idea, then change one important detail if it needs refinement.
If the bread disappears in shadow, specify light on the counter. If the background competes with the hands, simplify it. Seedance 2.5 Flash lets you explore separate moving candidates, so a team can discuss the actual framing and action rather than relying only on a written brief.
After selecting a direction, use Seedance 2.5 as another option for developing a more detailed version. Carry over the scene description and relevant references, then compare the new result with the selected Seedance 2.5 Flash clip. A new generation may interpret the composition and motion differently.
7. Build the Feeling Through Editing
An individual clip can look polished and still feel disconnected from the shot beside it. Editing creates relationships: a wide view establishes a place, a close-up reveals a detail, and a reaction gives the detail meaning.
For the baker sequence, an opening exterior could lead to hands arranging bread, followed by a wider view of the counter. Each shot adds something. If two shots repeat the same action without changing what the viewer understands, consider removing one.
Pacing matters as much as shot order. Leave enough time to recognize the action before cutting. A brief pause can give a quiet moment weight; a faster cut may suit energy or urgency. Let the scene determine the rhythm rather than applying the same duration to every clip.
Sound can connect the images: a door opening, footsteps, or a low room ambience can carry across an edit. Add music and voice only when they help, and use audio you have permission to include. Check that spoken words remain clear.
A Quick Review Before Sharing
Watch the video at its intended size. Is the main subject visible after cropping? Do light and color feel consistent across shots? Do movements and cuts help the viewer follow the idea? Inspect important hands, faces, text, and object interactions closely.
If the video represents a real person, product, place, or event, compare the imagery with reliable source material and do not present invented details as factual footage. Use authorized references and provide context when an illustrative scene could be mistaken for a real recording.
The cinematic choices that matter most are the ones the story can use. Start with one clear intention, test how framing and light change the scene, and keep only the movements and edits that help the viewer understand it.